A new approach to deploying the application
How does Traditional Deployment work?
But now we have a new approach to deploying the application. We must install Docker and if we want to have our own containers we must create an account in Docker Hub.
Creating Docker Images
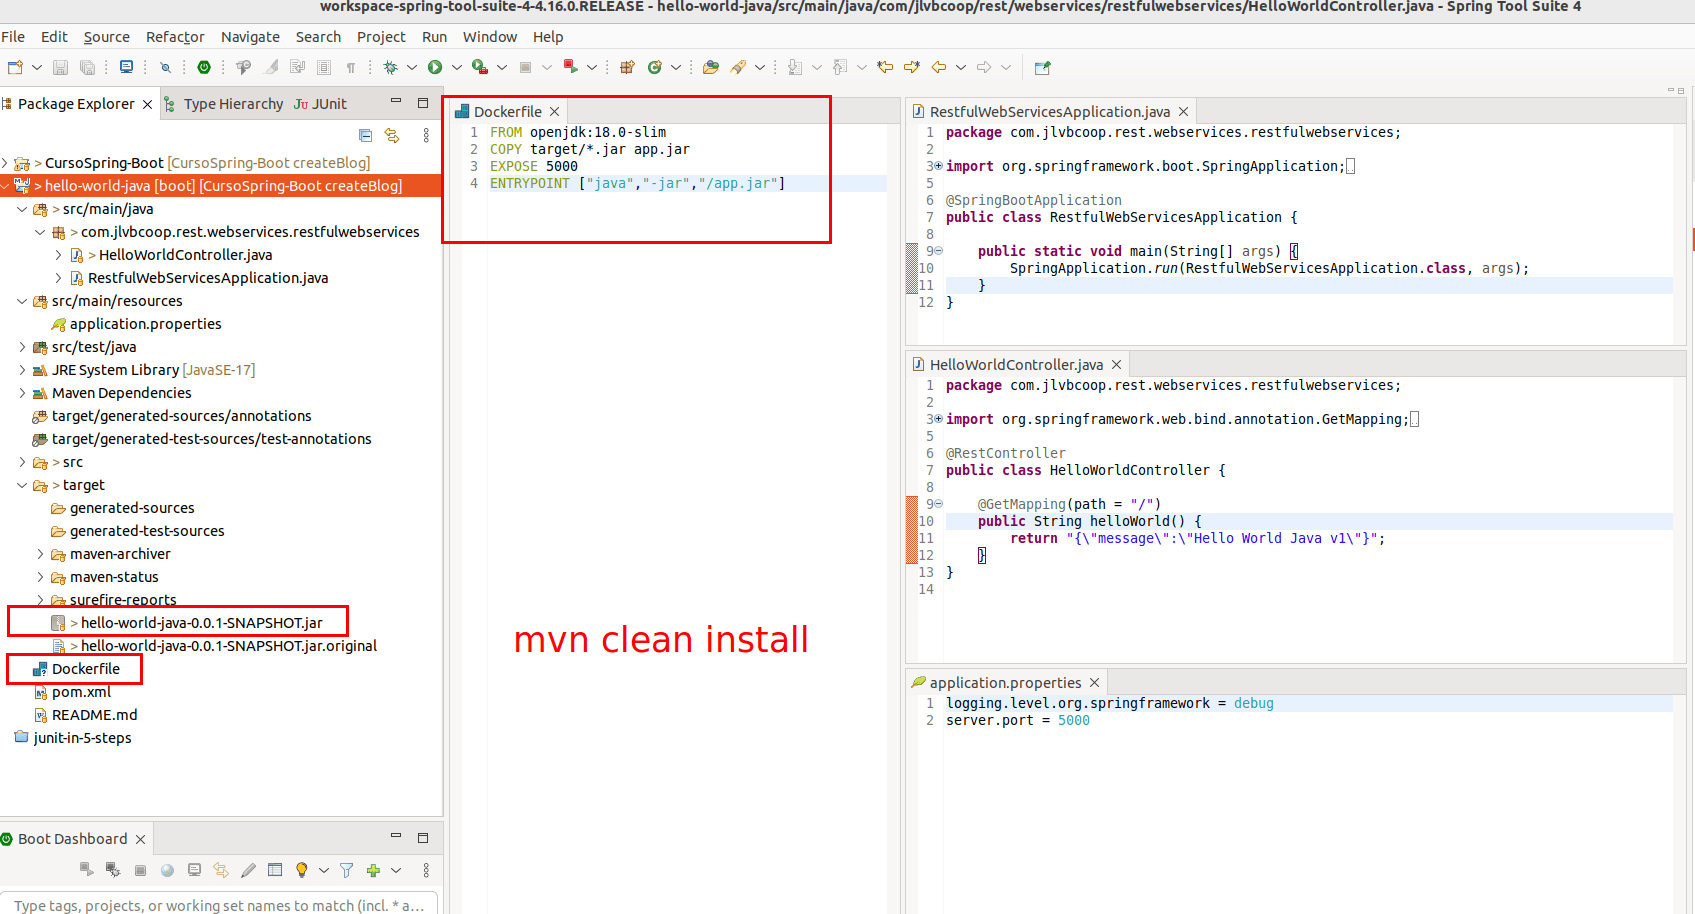
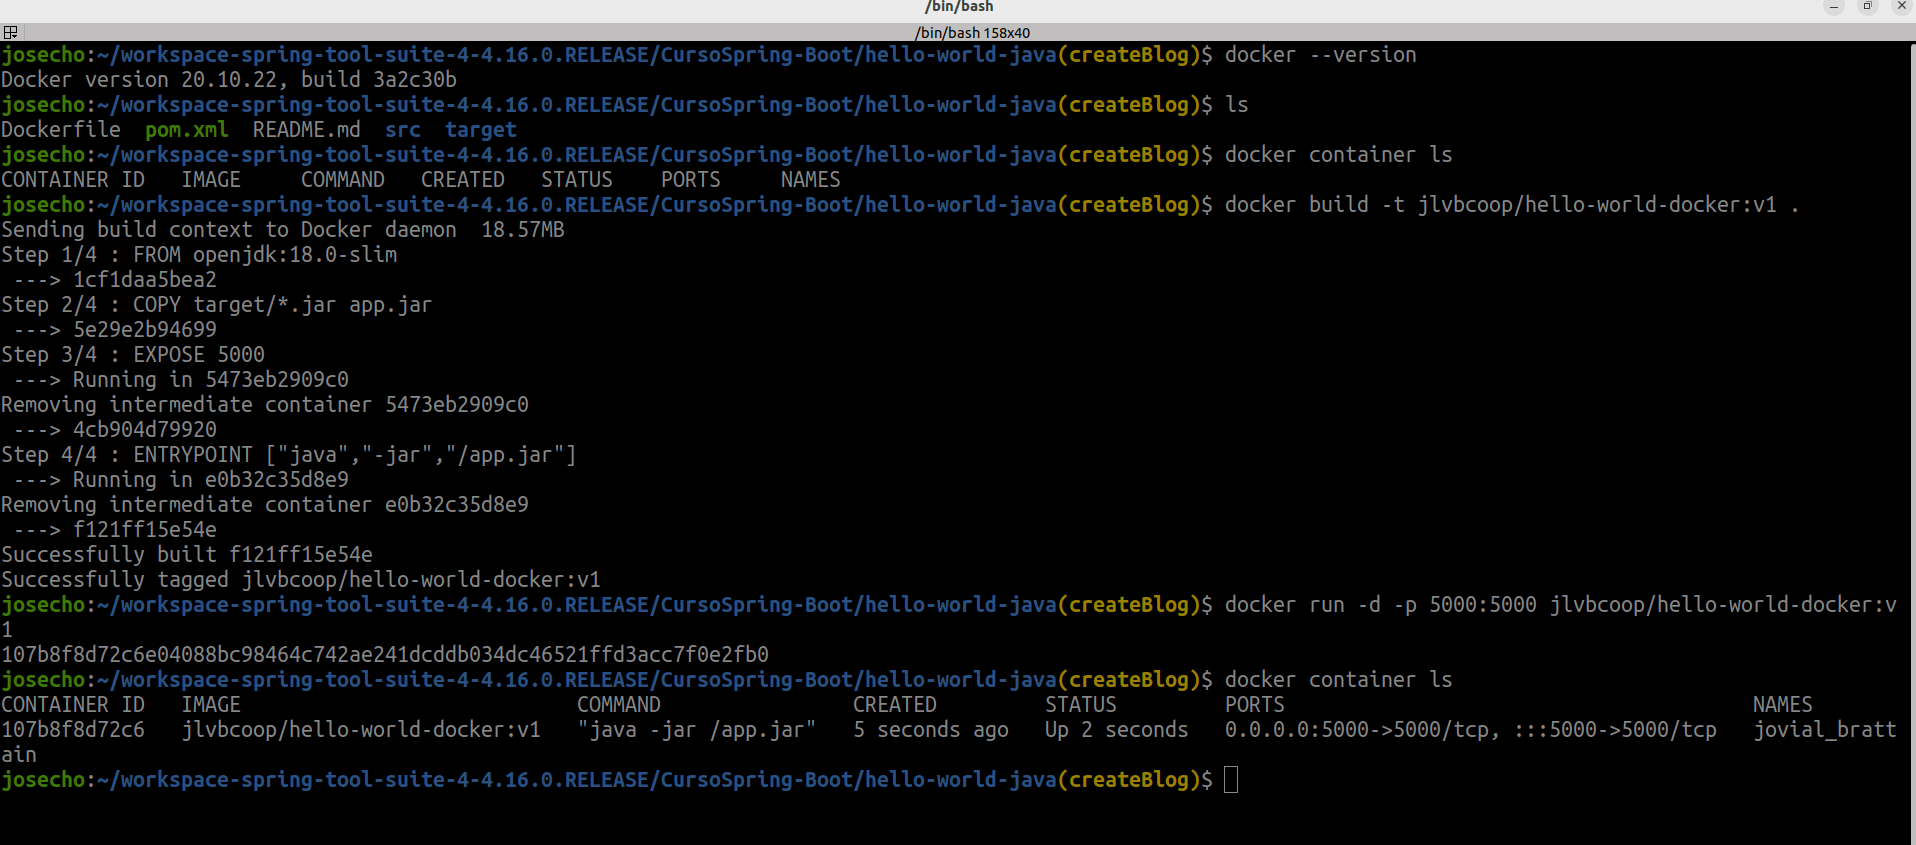
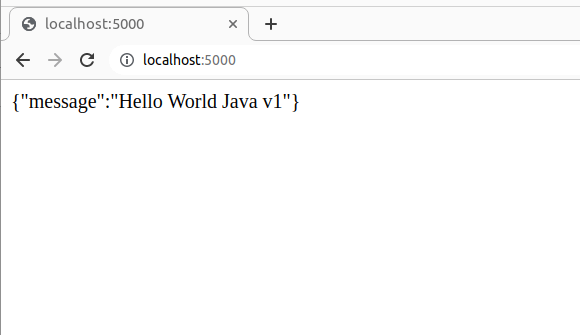
http://localhost:5000
This approach is not correct
One of the things that we have done is that the JAR file creation was done separately. We ran an even clean install on our local machine and then we copied the jar into the Docker image.
The best practice is to build everything that is needed inside the Docker image.
It is not recommended to build something on your local machine and copy it into a docker image. If you do something on the local machine and copy it into a local image, then there is every chance that if you run it on somebody else’s machine, the output would be a little different.
Building Spring Boot Docker Image using Multi Stage Dockerfile
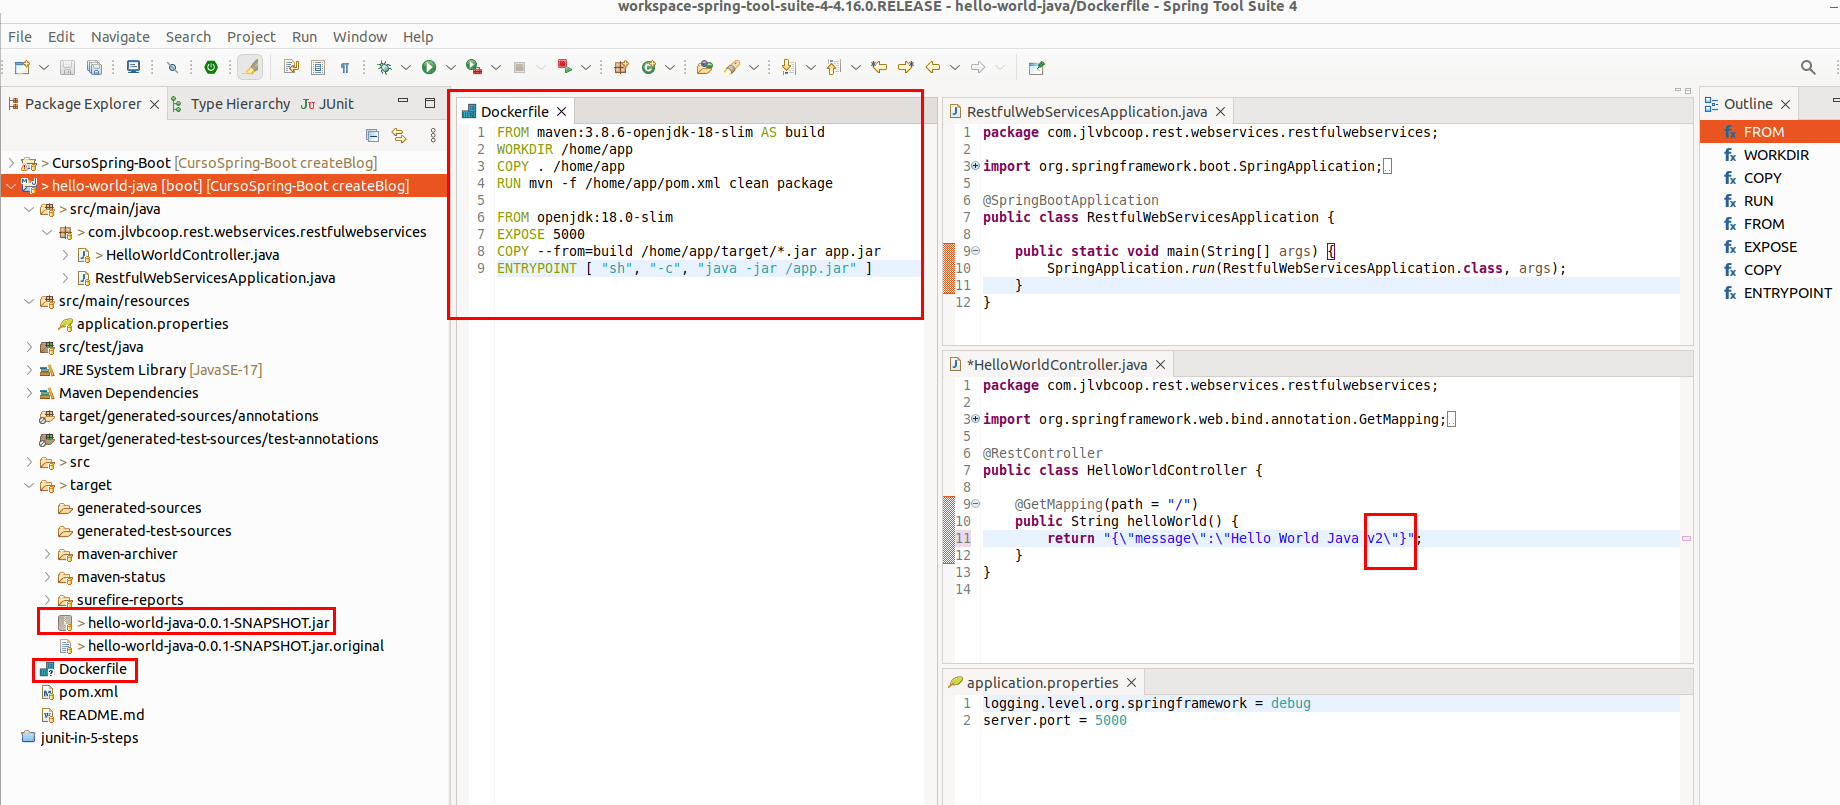
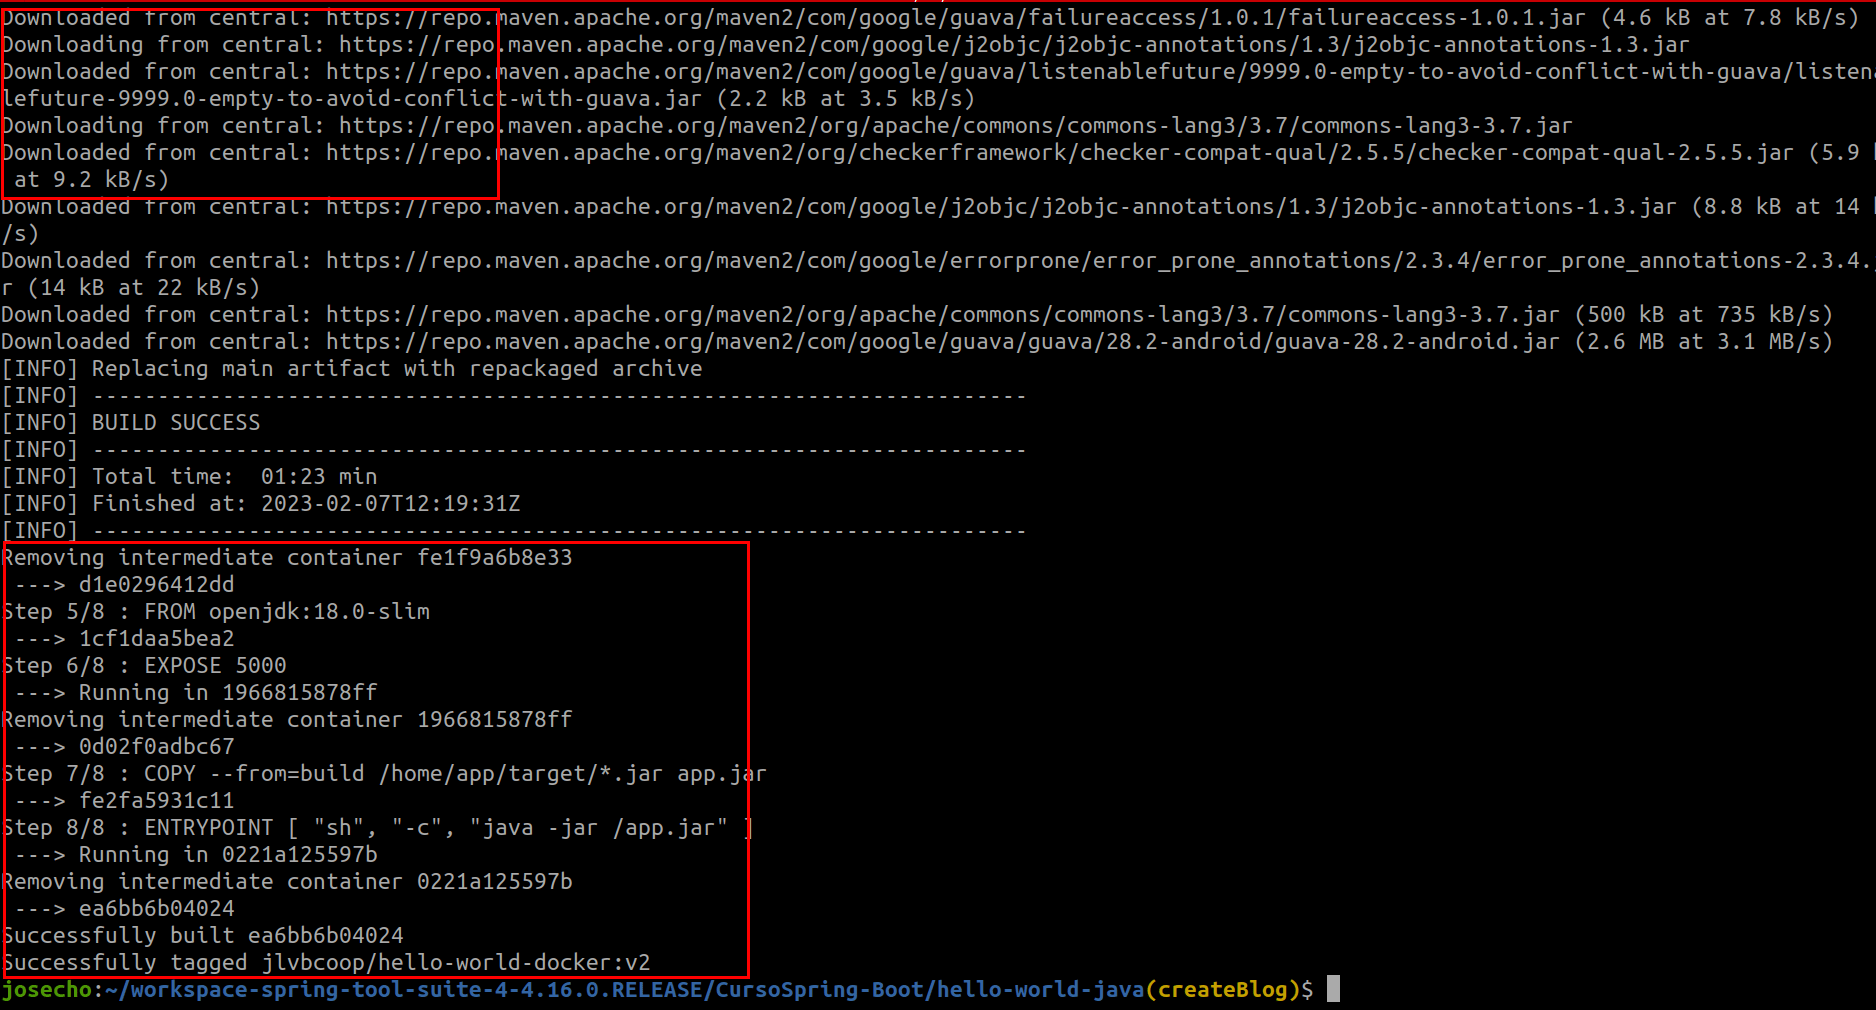
docker run

http://localhost:5000
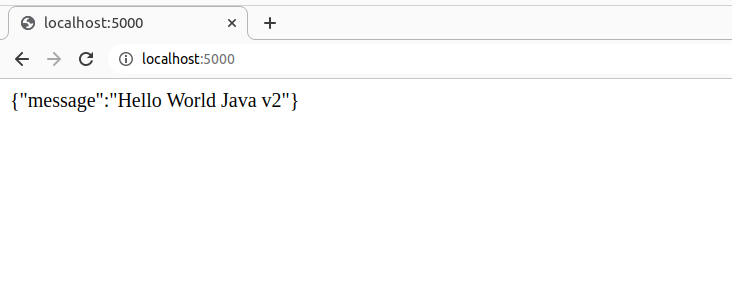
There is one problem with this approach.
The thing is, we already saw that the build takes a long time. Even if you make a small change here and you run the build again, it will again take more than 5 minutes.
Building Spring Boot Docker Image – Optimizing Dockerfile
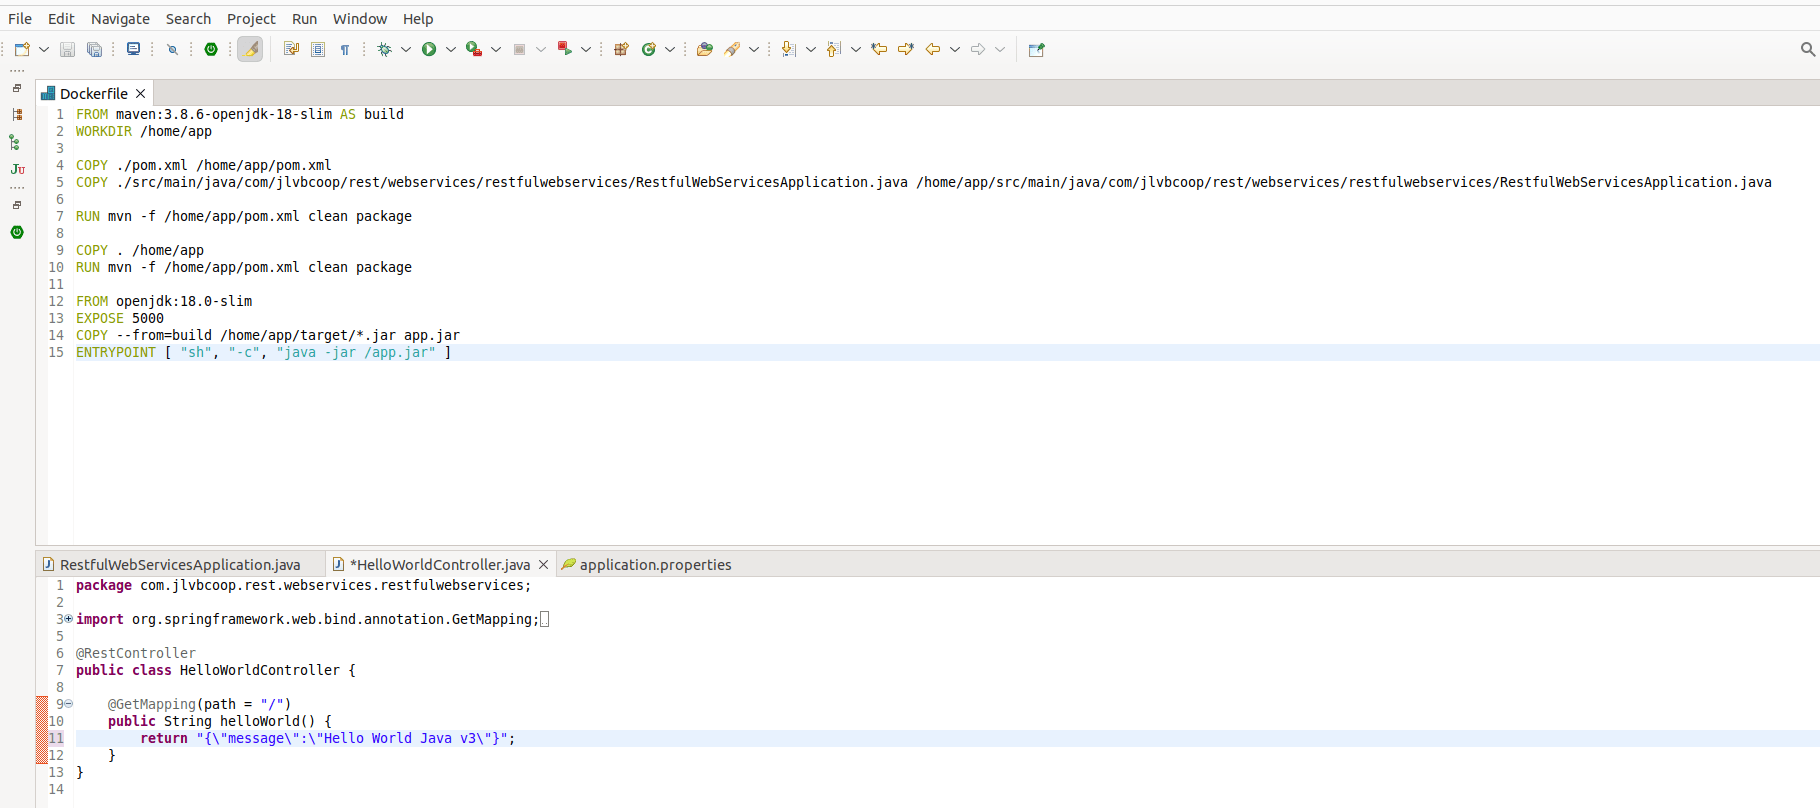
In the last step, we went to a multi-stage approach and we saw that the build took a long time. Even if I was making a small code change, it was causing the entire application to be rebuilt again.
How can we stop that from happening?
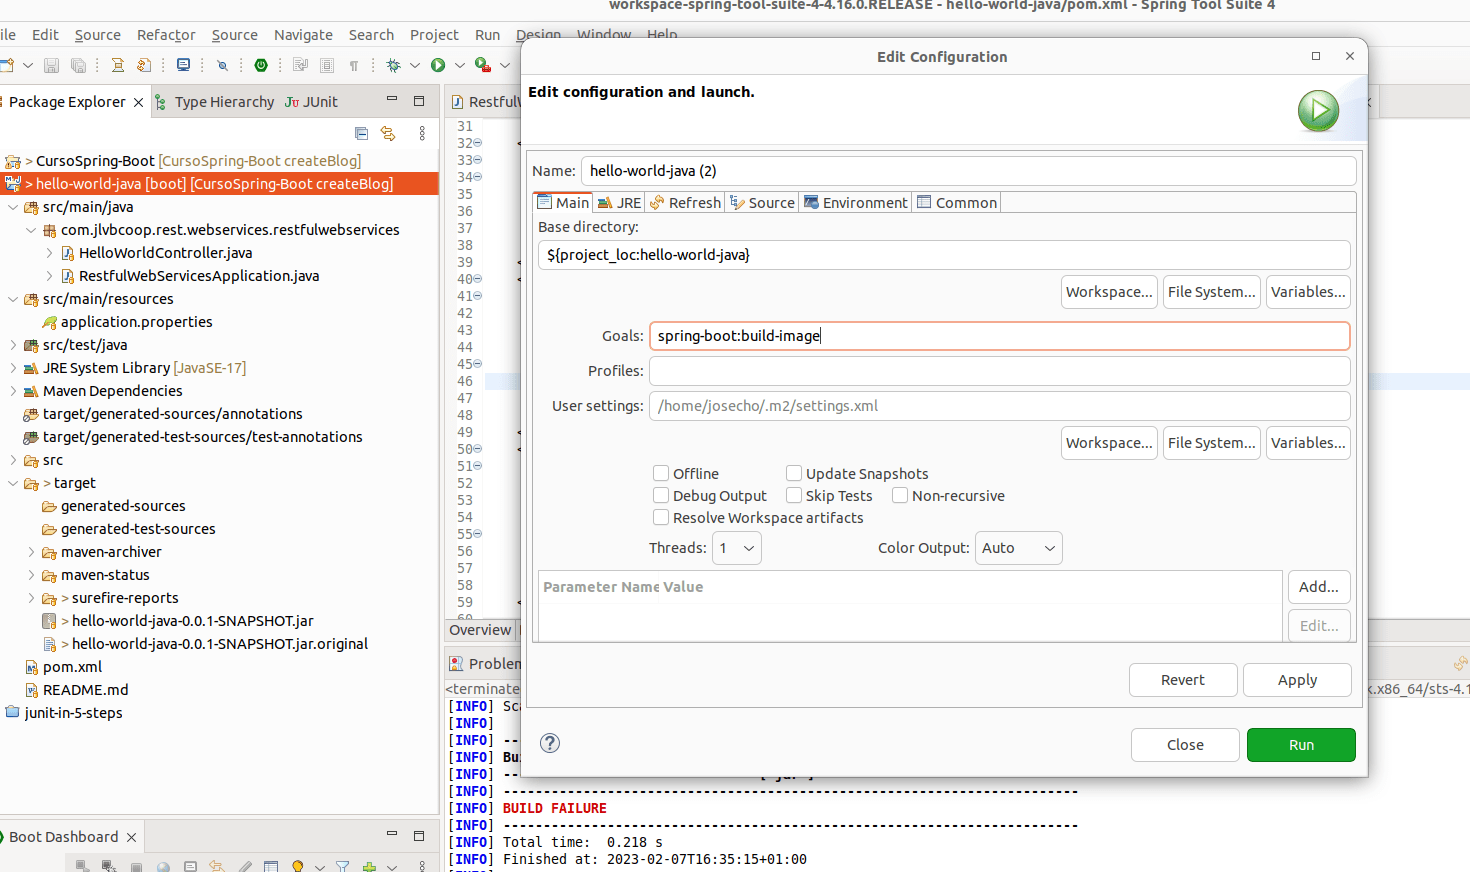
Building Docker Image with Spring Boot Maven Plugin
Spring Boot Maven plugin is one of the most popular MAVEN plugins out there. This is automatically included in your pom.xml.
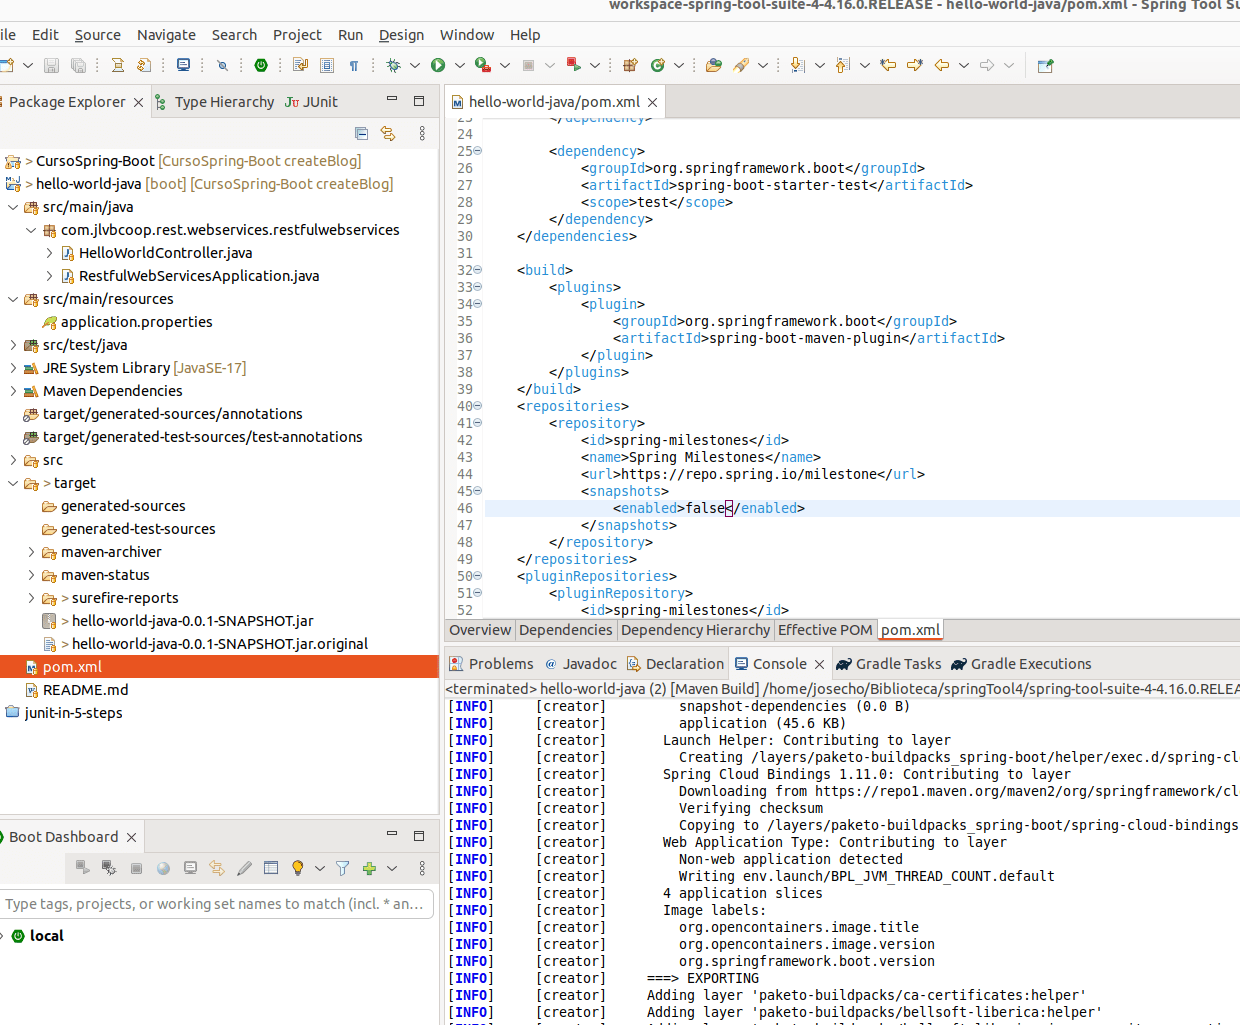
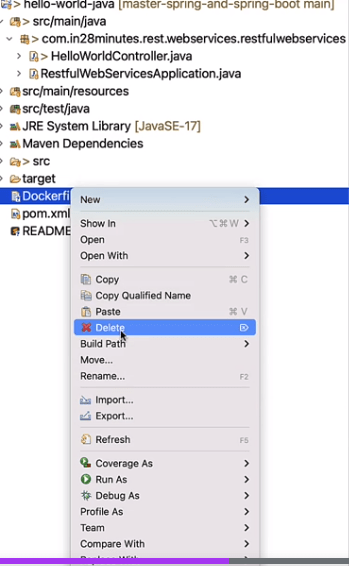
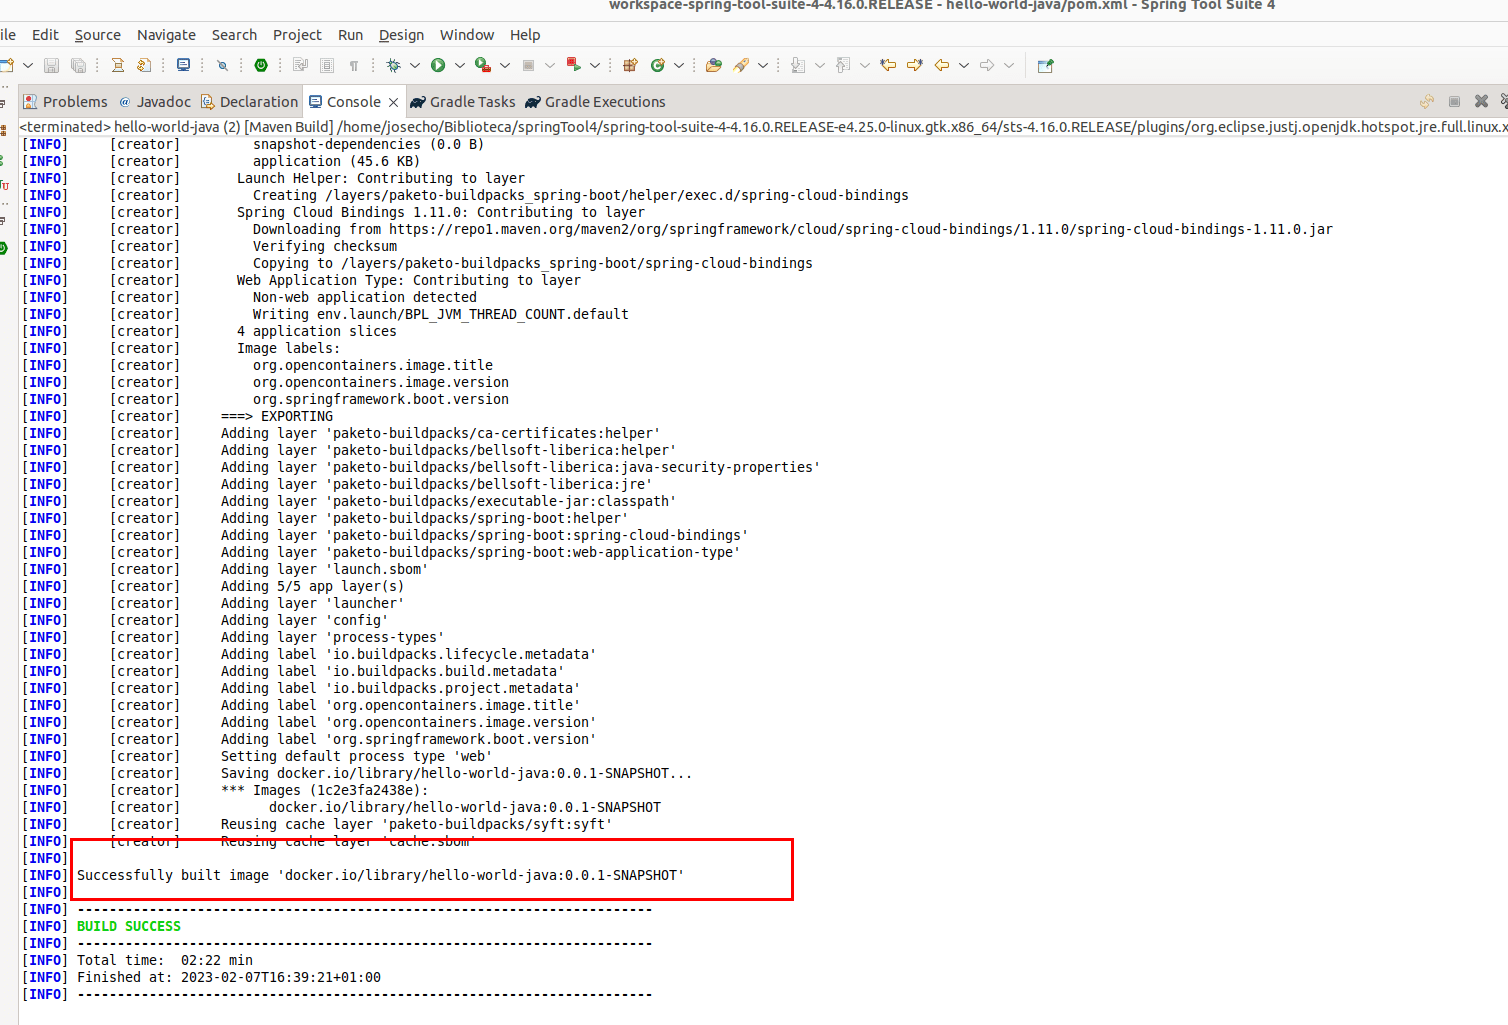
The great thing about the build image of the Spring Boot Maven plugin is that you don’t need to create a docker file. We will no longer need the Dockerfile file and therefore we delete it.




Leave a Reply
Want to join the discussion?Feel free to contribute!